Part 1 – Weatherization Basics
Long-time readers of this blog may remember the roofing adventure that was thrust upon us on Christmas Eve 2020. Some long-deferred maintenance led to a leak and some quick decision making about our next steps for a roof. After much analysis (and a four-part blog series), we went with asphalt shingles for several reasons.[1] While we were at it, I wanted to make sure that our poorly insulated attic got the attention it deserved so we could also save some money in the future. My previous day job involved organizing weatherization improvements for homes in low income neighborhoods, so I had plenty of data to help inform our choices.
We got our new roof in February 2021, and were able to schedule weatherization work in early May 2021. Going in this order helped ensure that everything was sealed properly after the new roof went on, and not vice versa. Fortunately, for our contractors, May was fairly mild that year, so they didn’t roast while they were up there. Fortunately, for our bats, we were able to seal up the attic as early in the year as we did – it wasn’t until my Bat Box post this year that I learned you should not seal your attic between mid May and late July because you risk trapping bat pups inside before they can fly.[2]
Having spent five years at a company that inspected work performed for multiple low-income weatherization programs, I can attest to the fact that even Building Performance Institute (BPI) certified contractors have to get called back to fix things. (Even though no contractor is perfect, always make sure your weatherization company is BPI-certified.)[3] Part of the problem is that even if a crew lead or foreman knows what s/he’s doing, s/he’s not necessarily the person doing the work, and frequently the people doing the work are young, learning, and sometimes even seasonal employees. I felt fortunate that I had enough experience on job sites to know what to ask and what to look for, because most homeowners don’t know what they don’t know.
Insulation
It can be critically important to understand the different steps involved in the weatherization process so that they are done correctly. I have lived in multiple Pittsburgh homes where a homeowner clearly thought he knew what he was doing but did not. If air sealing or insulation is done incorrectly, it is – at best – a waste of time and money, and – at worst – harmful to the health of the residents. One of the most important aspects to remember when weatherizing a space is that the thermal barrier and the vapor barriers need to be aligned. Think of the thermal barrier as a wool sweater and the vapor barrier as a windbreaker – they each serve a different purpose and work best together.
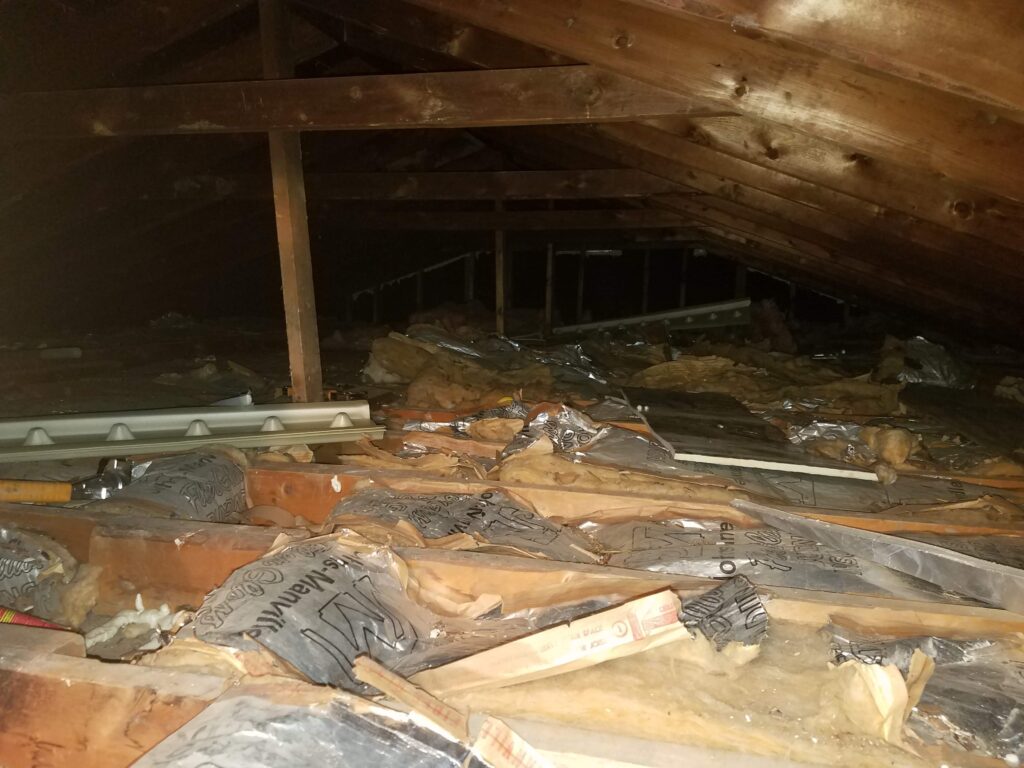
A great “terrible DIY” insulation example is from our own attic, which I saw shortly after moving in: the previous owner had installed the fiberglass insulation upside-down so that the backing was facing up into the attic instead of down against the living room ceiling. When you place a vapor barrier on the far side of the thermal barrier like that, you create a space where humid air can condense inside the insulation whenever there is a large temperature differential on either side of it. When that happens, the insulation gets wet, reducing the insulation’s effectiveness (R value) and increasing the risk of mold.
Our contractor sealed cracks in our attic where it bordered conditioned space downstairs (particularly around plumbing and electrical penetrations) and then slashed the backing on the improperly installed fiberglass insulation. Both of these steps moved the vapor barrier down against the floor/ceiling, and thus into the correct place. Then, anything with water damage from our roof leak was removed, and the rest was topped off with blown cellulose insulation. Cellulose insulation is very common, and it is typically made from recycled wood or paper products; it is also treated heavily with flame retardants in order to limit its fire risk. The combination of largely recycled materials combined with chemical treatments makes its eco-friendliness debatable, depending on whom you ask.[4]
Air Sealing
It’s also very important to understand that stopping all airflow can be very dangerous. Weatherization (when done correctly) plugs leaks where they aren’t supposed to be and creates ventilation where it is necessary. In our case, with our new roof, we sealed the small gable vents at the ends of the house, which didn’t provide much ventilation anyway, and instead added soffit and ridge vents to the roof. This combination of vents pulls fresh air from the bottom edges of the roof, through the attic, and out the top. The upward movement of hot air makes these air exchanges happen passively without the need for mechanical ventilation – if your intake and exhaust vents are balanced properly, that is. (I had to calculate the dimensions for our roofing contractor because it would have been woefully under-ventilated.)
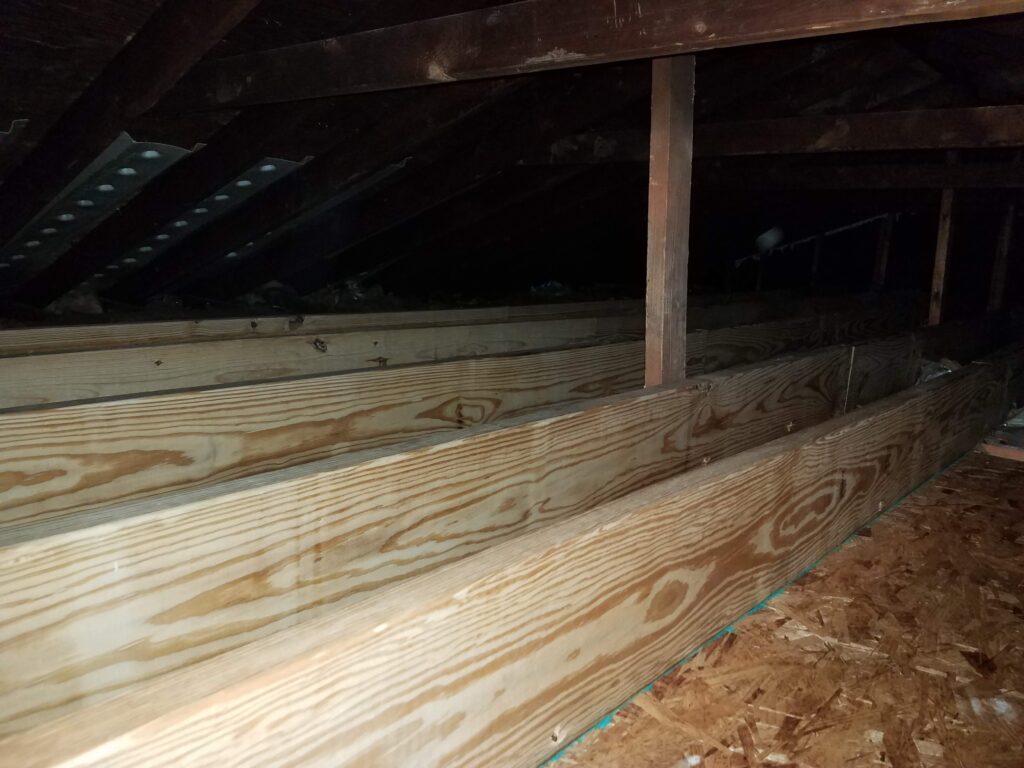
And that brings me to another important point: do not assume that roofers understand building science because there are even some weatherization contractors who don’t. One of my coworkers saw a particularly horrific result of under-ventilation first-hand, and he never let me forget: if you are adding insulation on top of a soffit vent, you absolutely must make sure the insulation does not block air movement through your attic. Typically in the case of soffit vents and blown cellulose, a contractor will install “baffles,” or channels that run the length of each bay between the rafters, starting down at the soffit vents and ending somewhere above the cellulose line. The insulation is filled in around the baffles, and the air flows through them up into the attic.
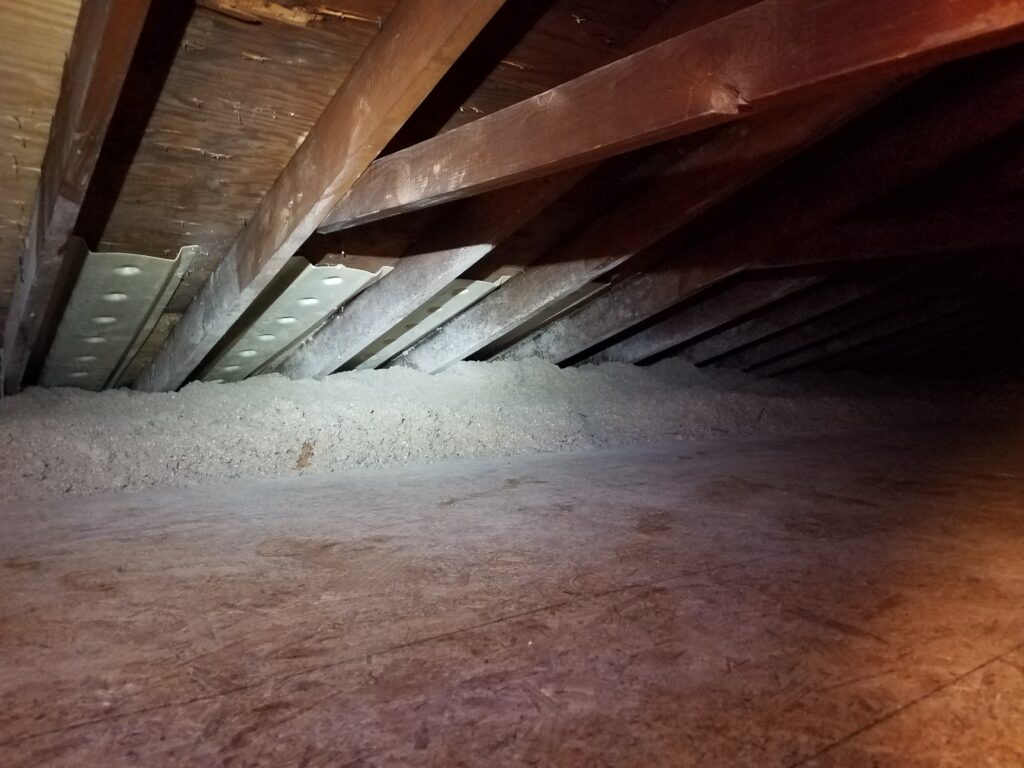
Unfortunately, things aren’t always installed the way they should be. My then-coworker was called to inspect a job where the baffles were clogged with blown cellulose. By the time the residents noticed that something was wrong, the entire attic was full of mold. I do not know what ultimately happened with the house, but I do know that it was deemed uninhabitable, and the family had to leave because the mold was making them sick. With that story planted firmly in my mind, after our own crew finished up, I crawled around the attic with my camera and examined each individual baffle to make sure I could see light coming up from the soffit vents.
But I digress. Knowing that one of my best contractors was on the job at my home (with me micromanaging the crew lead), I was reasonably sure that we would get good results – both from a safety standpoint and from an energy standpoint. And having done energy savings calculations for a program of 150-plus homes, I couldn’t wait to see what our savings looked like. And that is where we will pick up next week.
~
Have you had weatherization work done? Have you noticed any changes to your energy usage? Feel free to share in the comments below.
Thanks for reading!
[1] https://radicalmoderate.online/my-cabin-doesnt-leak-when-it-doesnt-rain-part-1/
[2] https://radicalmoderate.online/birthday-bat-box/
[4] https://www.thespruce.com/cellulose-insulation-basics-1821904
1 Comment
Terminator 2 – Radical Moderate · June 15, 2025 at 10:19 am
[…] service providers in my area (and outside my area for second opinions). From weatherization, [3] to concrete, [4] to electrification, [5] I am every contractor’s worst nightmare because I used […]