We live on a tenth-acre lot, and when I moved in four years ago, most of the yard was grass. I am not a huge fan of lawns to begin with, as they are resource-intensive, not particularly useful, and in my humble opinion… boring. There are practical[1] and philosophical[2] arguments against lawns, and it has been my goal for several years now to expand or create gardens throughout our yard to increase the attractiveness of our property to both my eyes and pollinator bellies. But, as I quickly learned, if you’re doing it by hand (i.e. not with an excavator and a truckload of topsoil), it takes a very long time.
Brute Force Method
I started work on my first garden (which is about 250 square feet and sweeps around one corner of the house from the front door down the hill to the garage) in 2017 when I began to pull up turf by hand. It was a tedious process of digging up the grass in square foot patches, about two inches down to clay, and beating the clumps of sod with a gardening trowel to release any usable dirt. Eventually I gave up and rented a tiller from Home Depot because I was getting nowhere fast. Using the tiller was a good step for loosening the soil, but it didn’t get rid of the grass and other weeds, so I still wasn’t able to start planting until the following year.
Planting in this area was difficult because of the steep hill and the high clay and shale content of the soil. If I had it to do over, I might try terracing the area or just opting for ground cover to make it easy on myself, but what’s done is done. As I planted my various perennials, I dug holes at least twice the diameter and depth of the pot, and filled in the space with a mix of the soil I took out, compost, and mycorrhizae to give the roots a good head start. (Mycorrhizal fungi form a symbiotic relationship with plant roots to aid nutrient and water absorption, as well as strengthen the root system.[3])

I’m hoping corn gluten will prevent weeds (and our opportunistic butterfly bushes) from spreading in the future.
But again, digging into high-clay soil was incredibly slow – so slow that I’ve been procrastinating on filling the final open spots. I’m also still dealing with weeds: I succeeded in eliminating most of the grass (last year) and the buttercups (this year), which were strangling my perennials, but I’ve still got a massive amount of clover and other flowering weeds. It takes time to dig them all out by the roots, and I’m not always successful in doing that before they go to seed, which perpetuates the problem.
Smarter, Not Harder
Given the tedious process in the first garden (and my propensity for starting new projects before finishing old ones), I wanted to give myself a head start for the next garden(s). Last summer I wrote a post about using newspaper and mulch as a weed barrier.[4] It worked well enough in my existing tilled-and-weeded garden, especially considering that I only used about two layers of newspaper and an inch of mulch to create the lightest possible covering, which blew away or ran down the hill in medium wind or rain.
Cardboard Weed Barrier:
I decided to beef up that method and see how much grass I could kill/discourage in a 600 sq ft stretch along our driveway and a 400 sq ft patch at the end of our property. Many people use plastic sheeting to keep grass and weeds at bay, but that starves the ground of air and water, and the increased heat (think greenhouse effect) can kill beneficial microbes in the soil.[5] Plastic sheeting will also eventually break down in the sun, and I didn’t want to fish pieces of plastic out of my garden. Cardboard is sturdier than newspaper, allowing only the most tenacious of plants through, but it also allows for the exchange of water and oxygen.

(I recently learned that crabgrass is an annual, so stopping the seeds will stop the plant!)
Last summer I started deconstructing cardboard boxes from home deliveries, being careful to remove every metal staple and scrap of plastic tape. It took several months of online orders and cardboard donations from friends, but when I finally collected enough (by fall), I called in a bulk delivery of mulch from my local garden center. I ran out of cardboard partway through (if you think you have enough, you don’t), so it took almost two months to finish the project. Christian had the patience of a saint while we played musical cars around the massive pile of mulch in the driveway.
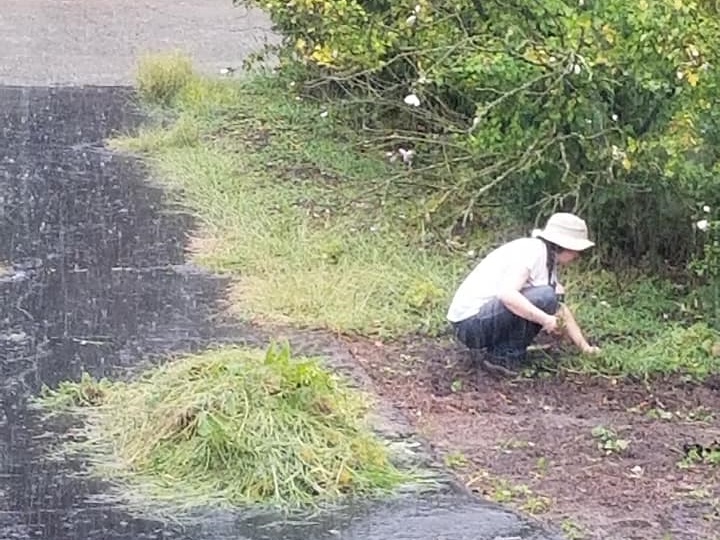
In the spring and summer of this year, I spent a good bit of time pulling grass and weeds that popped through to the surface. As I saw with the newspaper last year, grass and weeds would often run horizontally between the ground and the cardboard until they found a gap between pieces and pop up. Tricking the weeds that way made them far easier to pull. There was also a lot more give, pulling them out of the mulch than pulling grass straight out of the clay, as I had done in my first garden.
No-Till Method:
My plan was based on advice I’d heard over the years about piling mulch or compost on top of the bed every year, and after a few years, you’d have some decent soil. Apparently, that is a real method that promotes soil health and doesn’t require tilling – in fact, tilling is something you want to avoid in order to preserve the fine network of roots. Plus fall is a good time of year to begin – my beginner’s luck came to the rescue again.[6] This is a process I will be continuing for years, but just one application of mulch last year has already made a difference in weeding this year. (And of course, I used natural, undyed mulch from my local garden center.)

Photo credit: Christian Korey
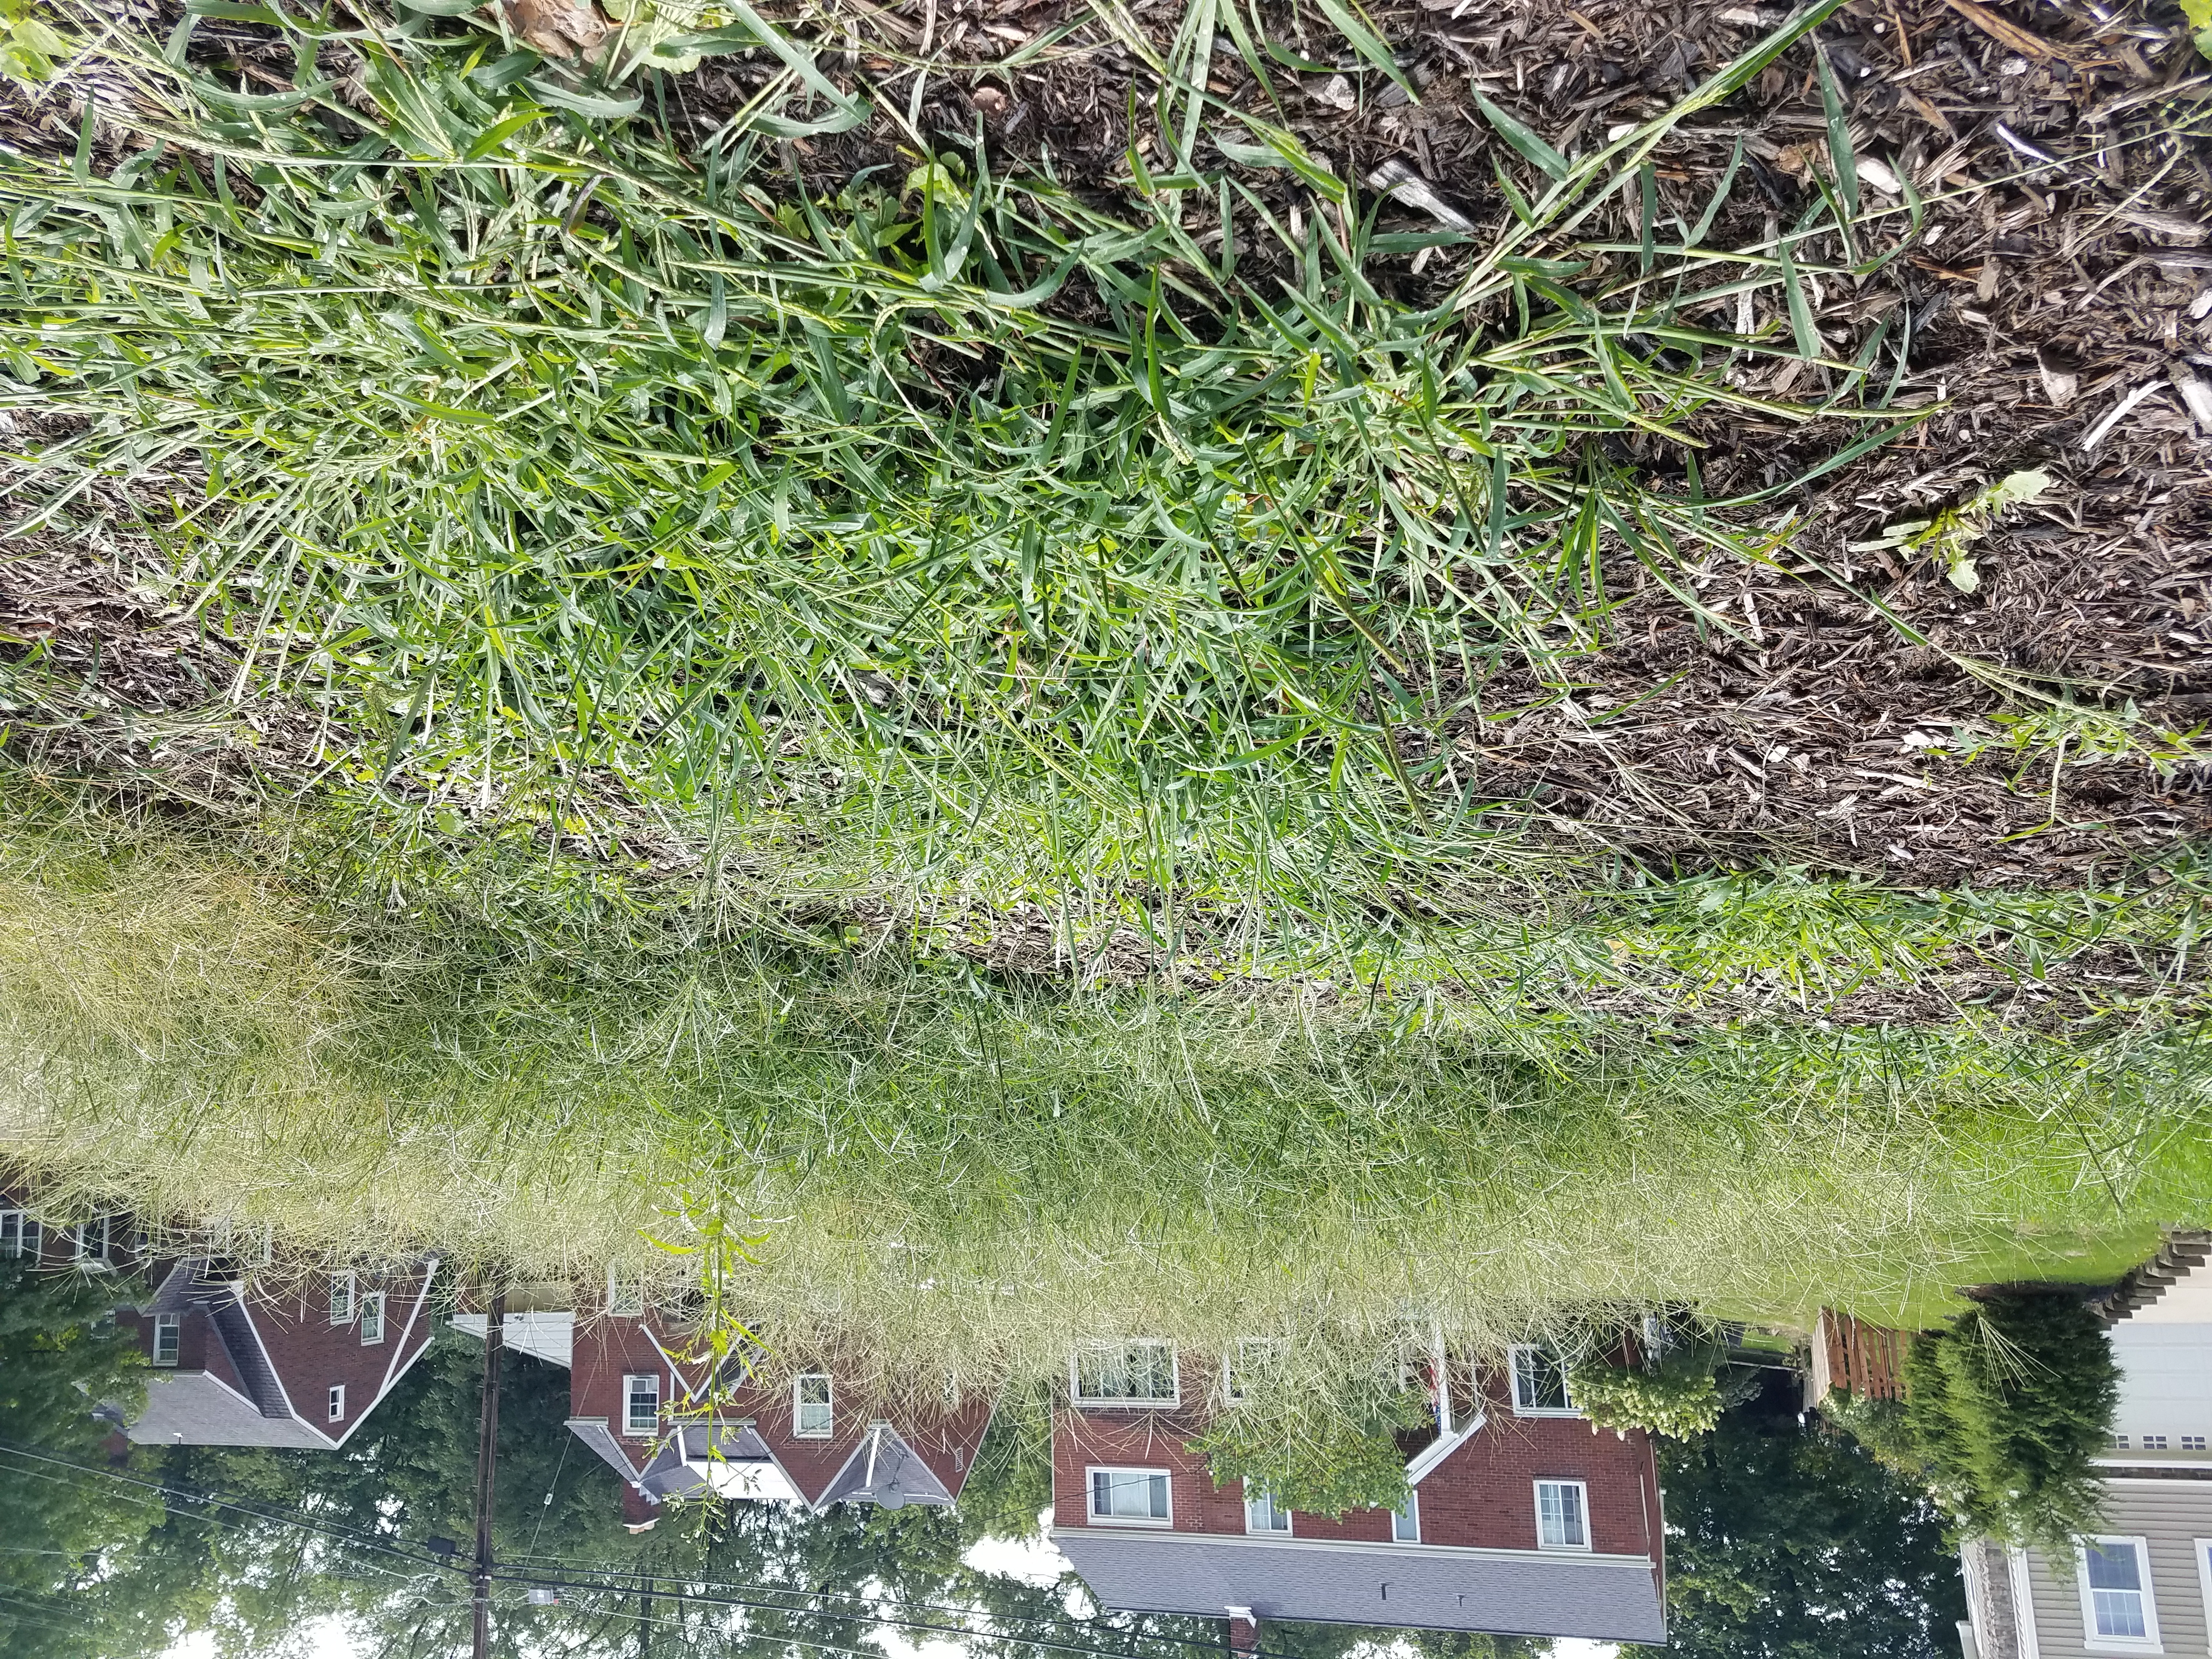
Weeds will inevitably come up, and all you need to do is pinch them off and leave the tops and roots to decompose and feed the soil. You just can’t let them go to seed because then you’ll have all new weeds sprouting the following year.[7] I was doing a decent job of staying on top of my weeding this year until I went to my parents’ house for a month. When I got back, my new garden beds were full of waist-high grass that had already gone to seed. It looked like I was back to square one.
… or was I?
Corn Gluten:
For those of us who let the weeds go a little too long or have seeds blowing in from who knows where, there is a way to prevent those seeds from growing into new grass and weeds. Corn gluten meal will do nothing for established weeds, but it can prevent new seeds from taking root when they germinate. When a seed germinates, it puts out a shoot that turns into a root; the corn gluten dries out the shoot so it cannot take root. However, the corn gluten’s effectiveness only lasts for about five or six weeks, so you need to look at the weather for your area and time your application just right.[8]
Depending on the plant/weed you’re trying to prevent, seeds germinate in the spring or fall in a very specific window: for Pittsburgh and similar areas, it’s when the forsythia are mid-bloom (for spring-germinating seeds) and when the weather starts to turn cold, typically around the first week of September (for fall-germinating seeds). Twice-yearly application is recommended, with about 60% of seeds being prevented in the first year. 100% control can often be achieved in five years.[9]
~
There will be more updates on the effectiveness of these various methods in the future, but I’m hoping my trial and error can remove some of the error for any organic gardeners following along at home.
If you’re an organic gardener, I’d love to hear about tips and tricks that have worked for you below.
Thanks for reading!
[1] https://www.curbed.com/2019/3/13/18262285/mcmansion-hell-kate-wagner-lawn-care-mowing
[2] https://michaelpollan.com/articles-archive/why-mow-the-case-against-lawns/
[3] https://www.finegardening.com/article/mycorrhizae-help-feed-your-plants
[4] https://radicalmoderate.online/eco-friendly-weed-barrier/
[5] https://apnews.com/957601c9a20f4618ab5d6b5241181aa8
[6] https://extension.oregonstate.edu/news/mulch-key-no-till-gardens
[7] https://www.notillgrowers.com/blog/2019/2/25/the-pros-and-cons-of-the-deep-compost-mulch-system
[8] https://www.thespruce.com/corn-gluten-herbicide-careful-timing-2152947
[9] https://triblive.com/lifestyles/home-garden/how-to-use-corn-gluten-meal-for-weed-control/
0 Comments